The production process of lithium battery: The first step-preparation of
electrode slurry
The production process of lithium battery:
The first step--preparation of electrode slurry
is mainly to mix electrode active materials, binders, solvents, etc.
together, stir and disperse sufficiently to form a slurry.
The second step-coating
The slurry prepared in the first step is uniformly coated on the current
collector (aluminum foil or copper foil, etc.) with a specified thickness, and
the solvent is dried.
The third step-pole piece punching
Punch the pole piece produced in the previous step into the specified size
and shape.
The fourth step-stacking
Assemble the positive and negative plates and the separator together, and
form the pole core after the glue is applied.
Step 5-Assemble the soft pack battery
Put the pole core produced in the previous step into the aluminum-plastic
film that has been flushed, and complete the top seal, side seal, etc. (and
leave a mouth for injection) to form a soft pack battery without injection.
The sixth step-injection
Inject a specified amount of electrolyte into the soft-pack battery cell.
Of course, the battery cell needs to be baked, and the liquid injection
operation is carried out in a low humidity environment, too much moisture
content is not good.
Step 7-battery sealing
The gas inside the cell is drawn out and sealed in a vacuum
environment.
With the rapid development of electric vehicles and automobiles, the power
supply on vehicles has also developed rapidly. However, there are many problems
in the production of batteries, resulting in uneven quality of battery products
in the market and the later cycle life of battery capacity. Failure to reach the
designed service life has a lot to do with the unique production process of the
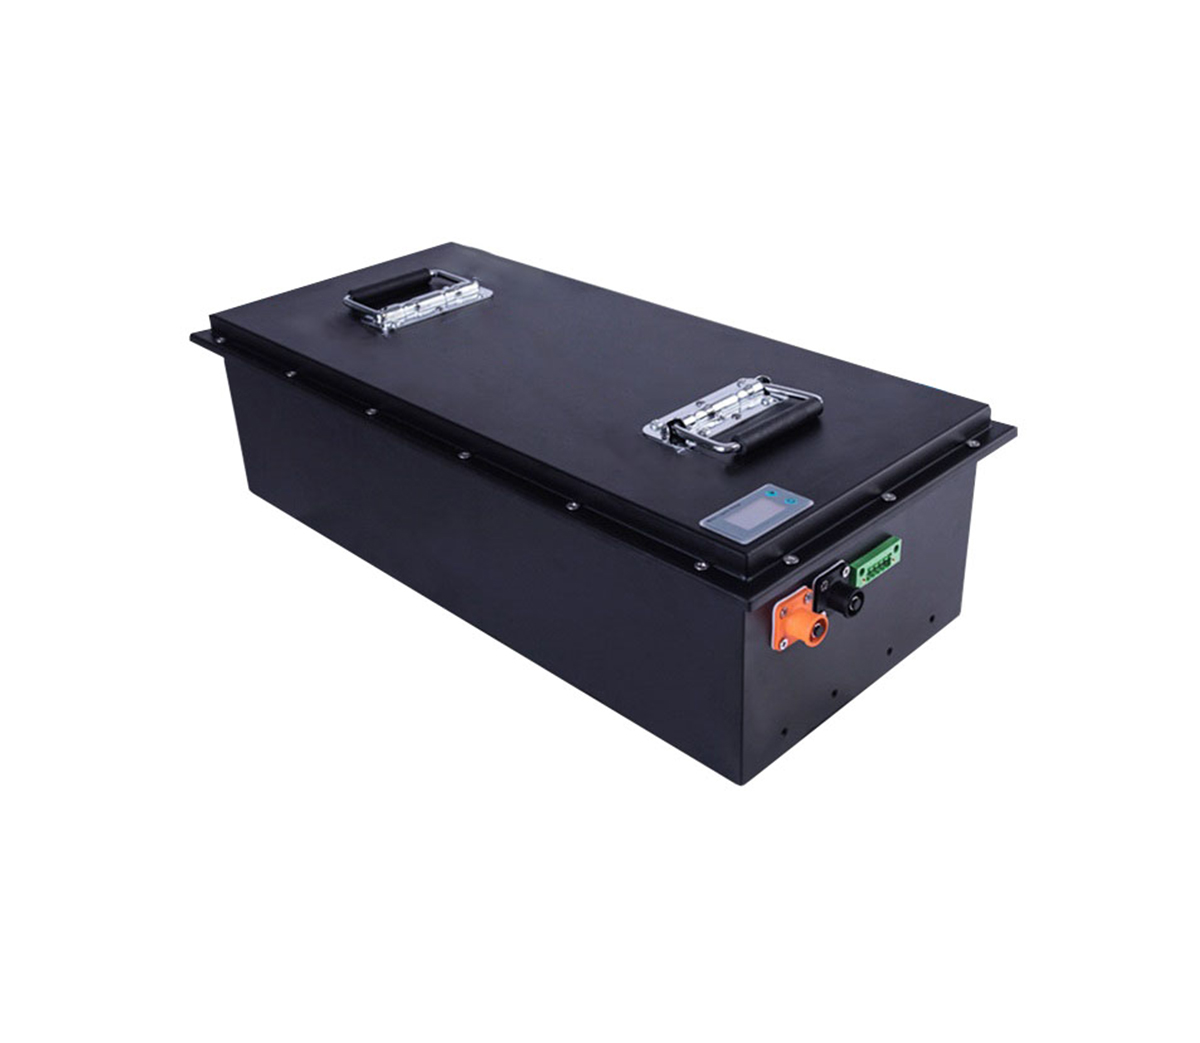
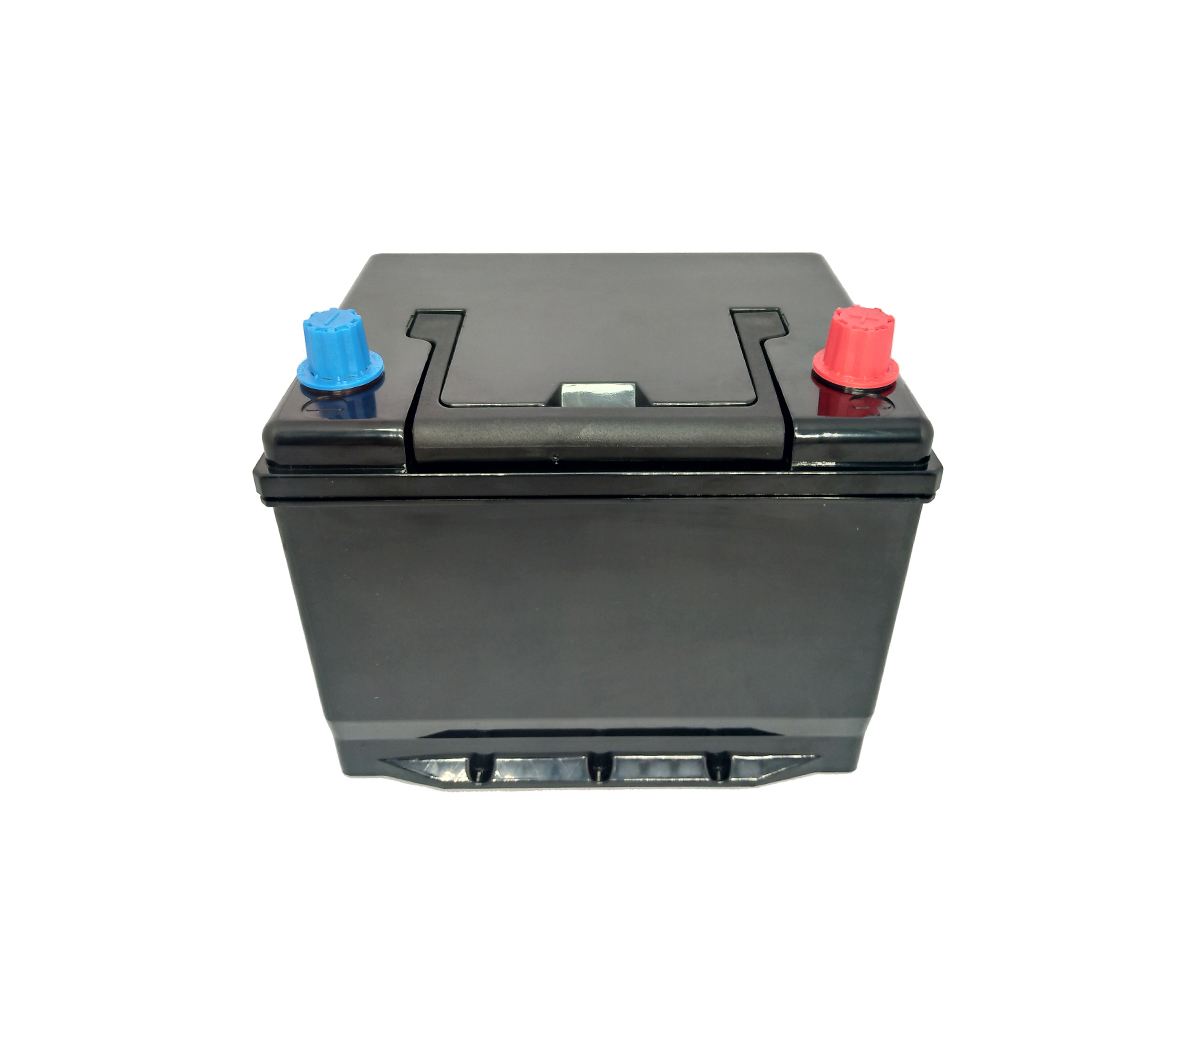
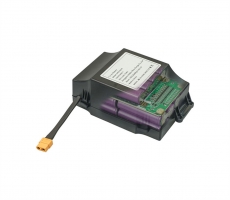
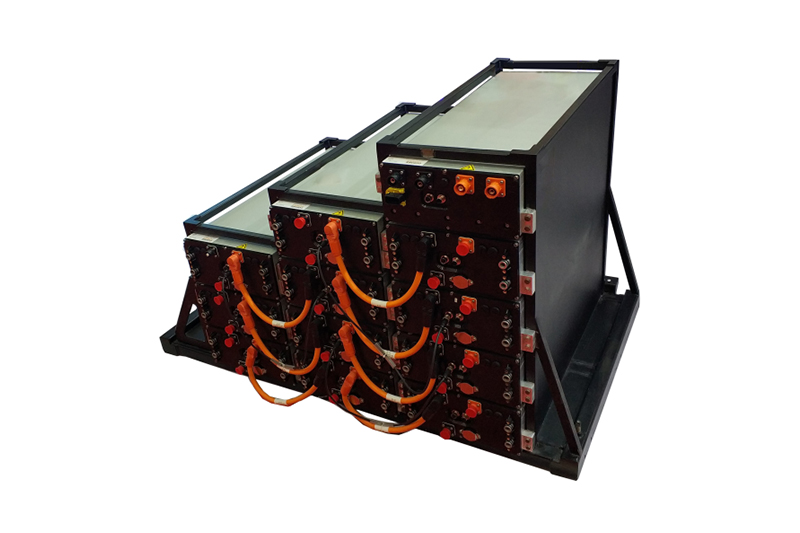
battery in production. The structure of the battery is composed of a shell, an
upper cover, a pole plate, a separator, a bus bar, a pole, a bridge protection
plate, and a terminal.
1. First of all, weigh the plates inside each battery and match the plates.
The capacity of each cluster must be equal, otherwise the group with the smaller
capacity will be fully charged in advance due to the small capacity, then the
battery with the larger capacity has not been fully charged, the terminal
voltage of the battery is low, and the total voltage is not fully charged and
the final voltage continues. When charging, the group with a small capacity will
be overcharged. If the battery is discharged, the group with the small capacity
will have no power in advance. The voltage of other batteries is higher, and the
total voltage of the battery does not have the termination protection of
electric assist. Voltage, the discharge continues but it causes the battery to
be over-discharged.
Overcharge and overdischarge of the battery as well as failure to charge
the battery in time will affect the service life of the battery. However, the
capacity of the battery with the smaller battery is further reduced, and the
decrease of the battery capacity further causes the battery to be overcharged
and overdischarged. This cycle causes the battery capacity to be very high.
Decrease quickly and scrap.
2. Handling of plates before weighing
Before the electrode plates are weighed, it is necessary to clear the
excess front edges, burrs, and excess active materials during paste application.
If they are not clean, they will cause short circuit of the battery plates, that
is, battery self-discharge. It is necessary to brush the earphone with a pole
plate to clean the excess impurities on the pole plate to facilitate welding, so
as to prevent false welding and false welding. Pick out the uneven plates, those
with severe powder removal, and the plates with holes.
3. How to weigh the plates
When weighing and matching the plates, first weigh a part of the plates and
place them on the workbench in sequence according to the weight, compare and
mark the weight, and then weigh the plates that are not weighed on the weighing
instrument. The weight of the plate is placed together with the plate placed on
the workbench according to the weight of the weighed plate, which saves some
trouble. (The weight difference of each group of positive plate or negative
plate is as small as possible. The error of 10~14AH should not exceed 1g per
group, and the error of 17~20AH should not exceed 2g per group.
Package partition
1. The weighed plates are assembled according to the regulations, and the
plates are packaged after the group is assembled. The materials of the
separators are common microporous rubber and glass fiber. Pay attention to the
cleaning of the separators and place the plates on the separators. In the middle
of the plate, if the position of the plate is aligned, place it in the plate
box.
Kodi partition
2. Double-piece positive plate, use very thin separators to hold the
positive plate together, and do not wrap the negative plate, so as to avoid
short circuits caused by defects in the single-piece separator. Single-piece
package board, use separator to package only the positive plate without the
negative plate and put it in the package box, which is convenient and
simple.
Lead parts selection and processing
1. Lead parts are made of lead welding rods and poles, which are cast in
special molds. Generally, it is about 450°C. If the temperature is too high,
lead oxidation is serious, and lead parts are cracked due to serious shrinkage,
so it is not allowed to use iron to beat the mold. The lead parts should be made
as far as possible to ensure that there are no thorns around, and if there are
any, they should be trimmed.
Kedi Lead Parts
1. Welding of clusters, welding is to weld the positive and negative poles
together with lead to form a cluster, and use oxygen-acetylene in the tool that
connects the pole and the bus bar.
2. Put the wrapped polar plate in the cluster box, insert the polar plate
in the cluster box into the comb plate, insert the negative pole and then the
positive pole first, so that the tabs are completely inserted into the comb
plate. If it is not in place, arrange it by hand, and then put the rails, bridge
posts, and poles between the positive and negative ears.
3. Turn on the acetylene and oxygen of the welding torch and ignite, adjust
to the appropriate size. The welding torch and the electrode are moved to the
position of the pole, and then the lead bar and the pole are melted. After the
bus bar is basically welded, the pole and the bus bar are welded together. If
there are impurities such as lead dust during welding, false welding and false
welding will be found. The welding of poles and busbars is a key process in the
production process. The welding must be firm, free of false welding, and false
welding. . At this time, it is necessary to remove impurities while welding, and
finally fill up the busbar.
4. After welding the busbar, check that there is no defect and then enter
the slotting process. Generally, it is necessary to install the terminal cluster
first, and then install other clusters. The positive and negative poles are
arranged as + -, + -, + -, + -, + -, +-are connected in series, do not install
the wrong polarity.
When installing the plate groove, it must be installed to the bottom, and
then check whether the bridge column is normal. If there is any displacement,
manually handle it, and whether the upper cover of the trial installation can
cover the lower groove of the basic cluster has been completed.
5. How to check the pole group? First, we use a multimeter to measure
whether the battery is short-circuited. If the voltage measured is zero or close
to zero to prove that the battery is short-circuited, check the cluster to find
the location of the short-circuit and repair it. Check whether the positive and
negative poles of the multimeter are connected well if there is no negative
number. If yes, prove that the polarity is reversed, and then reinstall it in
the battery slot.
6. There is no fault to enter the bridge welding after the pole plate
inspection, and the pole group welding is a key item. Use bridge welding to
clamp the clamp column, and use oxygen welding to weld the bridge column. When
welding, ensure that the flame does not burn to the battery case, and ensure
that there is no false welding, false welding, and the poles are separated from
the cluster, and the cover can be closed smoothly. The battery cover is sealed,
and the epoxy resin glue and curing agent are used in combination with a ratio
of 2:1. The prepared glue should be used in time to avoid long time
solidification. The solidification of the colloid has a great relationship with
the temperature. The higher the temperature, the faster the solidification, so
use it as soon as possible. There is also a heating device for capping.
7. After the battery cover is completed, the electrode pole must be welded,
and check whether the lead pole is in the middle of the lead hole. If not, make
corrections. Put the pole mold on the lead pole and then melt the pole with
oxygen welding. There is also a kind of soldering. Put the terminal on the
leading pole, and the position should be upright. Use a soldering iron to melt
the solder wire and solder the terminal and pole together. Pay attention to
false welding and false welding when welding.